


댓글 쓰기 권한이 없습니다. 로그인 하시겠습니까?
|
Pi
2017.10.17 13:45
브라우저로 gpio 제어, WebIOPi
조회 수 43658 댓글 0
http://webiopi.trouch.com/ Features
GPIO header web appThe GPIO header web application is included to quickly debug and controls GPIO. download page : http://webiopi.trouch.com/DOWNLOADS.html $ wget http://sourceforge.net/projects/webiopi/files/WebIOPi-0.7.1.tar.gz/download -0 webiopi.tar.gz $ tar xvzf WebIOPi-x.y.z.tar.gz $ cd WebIOPi-x.y.z
$ sudo ./setup.sh ------------------------------- cd /home/pi sudo wget http://sourceforge.net/projects/webiopi/files/WebIOPi-0.7.1.tar.gz sudo tar xvzf WebIOPi-0.7.1.tar.gz cd WebIOPi-0.7.1 sudo wget https://raw.githubusercontent.com/doublebind/raspi/master/webiopi-pi2bplus.patch patch -p1 -i webiopi-pi2bplus.patch
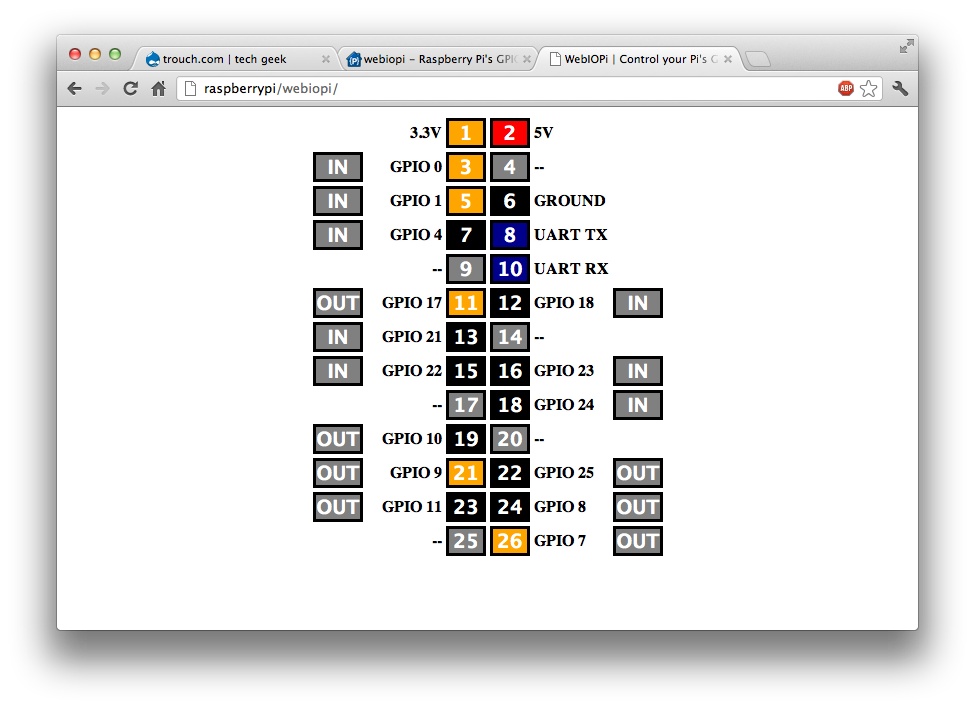
sudo ./setup.sh ----------------------------- * To start WebIOPi foreground : sudo webiopi [-h] [-c config] [-l log] [-s script] [-d] [port] * To start WebIOPi background : sudo /etc/init.d/webiopi start * To start WebIOPi at boot : sudo update-rc.d webiopi defaults Running WebIOPiFinally, use webiopi command : For instance, to start with verbose output and the default config file : You're done, and ready to enjoy WebIOPi ! But the server and GPIO state will be lost when you'll stop the script (CTRL-C) or close the terminal. Running WebIOPi (Daemon)You can also start/stop the background service, the configuration will be loaded from /etc/webiopi/config. Auto start at bootTo setup your system to start webiopi at boot : To remove webiopi start from boot : Access WebIOPi over local networkIf your Raspberry Pi is connected to your network, you can open a browser to http://raspberrypi:8000/ with any device of your network. Replace raspberrypi by its IP. Default user is "webiopi" and password is "raspberry" By choosing the GPIO Header link on the main page, you will be able to control GPIO using a web UI which looks like the board header.
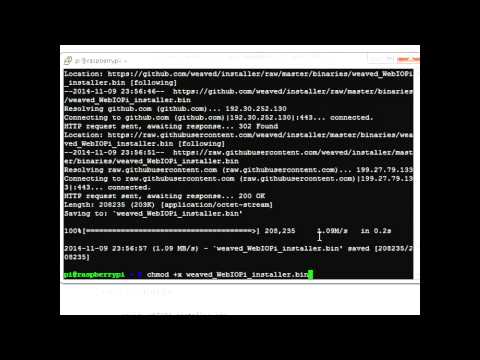
Access WebIOPi over InternetThanks to Weaved IoT Kit, it's easy to access your Raspberry from anywhere in a secure fashion. Register on the Weaved developper portalGo to https://developer.weaved.com/portal/ and follow instruction to create an account. Download Weaved for Raspberry PiCopy and paste the command line below into a terminal window or SSH client connected to your Raspberry Pi, then hit the Enter key. Install WeavedMake the installer executable: Launch the installer: Enter the e-mail address and password for your Weaved account.
When asked, choose WebIOPi during the install process. then enter an alias, or nickname for your device.
Note: If you run the installation more than once, you'll get this question.
Support of multiple services is not fully tested in 1.2.5. We recommend that you answer 'y' here to remove the previous installation before proceeding. Test your setupTo test the connection to your Raspberry Pi from your browser, go to the device list, find the line with your Raspberry Pi's alias, and click on “Connect”. Your device's internet address will be shown in the area blurred below.
Dreamy의 코드 스크랩내가 모으고 내가 보는
| ||||||||||||||||||||||||||||||||||||||||||||||||||||||||||||||||||||||||||||||||||||||||||||||||